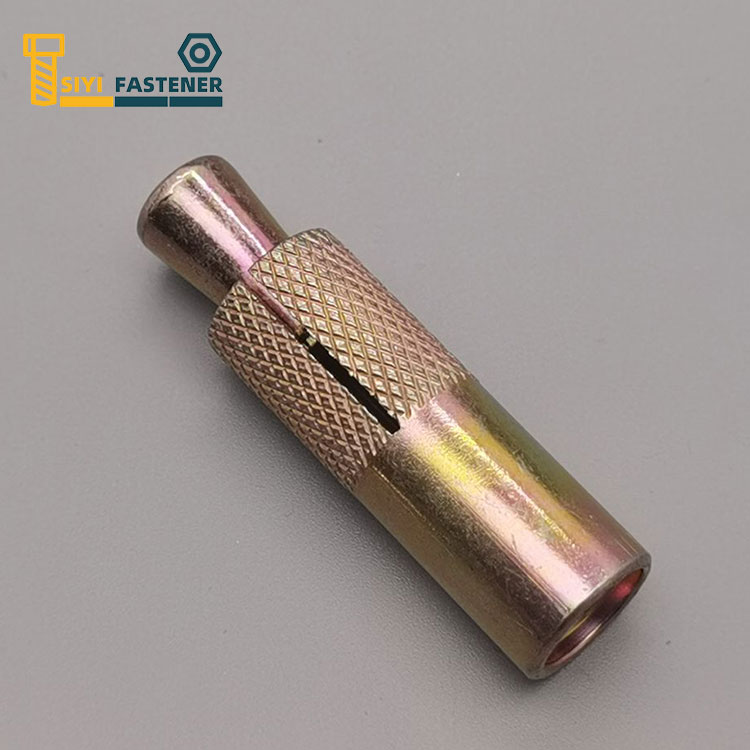
Chemical bolt installation process
Installation procedure: drilling-cleaning the hole-inserting the drug tube-drilling the bolt-gel process-hardening process-fixture
1. Drilling: According to the design requirements, set the position according to the distance and edge distance of the drawing, and drill the base layer. The diameter and depth of the hole must meet the design requirements.
2. Hole cleaning: Use air pressure blowpipe and other tools to remove the floating dust and dust in the hole to keep the hole clean.
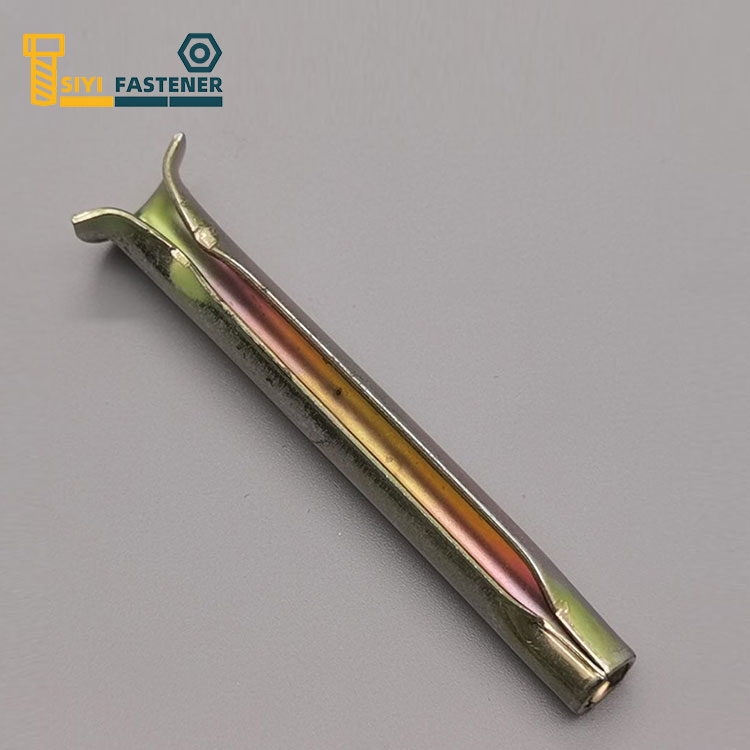
3. Insert the medicine tube: insert the medicine tube into a clean hole, and use the rubber tube only when the resin can flow like honey under hand temperature conditions when inserting.
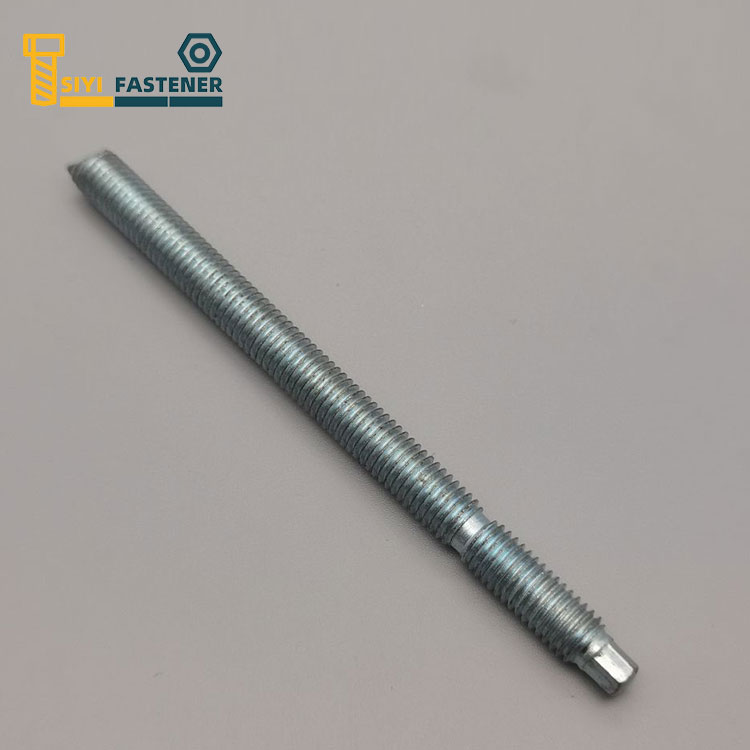
4. Drill in the bolt: Use an electric drill to screw in the screw until the medicine flows out. Electric drills usually use percussion drills or hand drills, with a drilling speed of 750 rpm. When the bolt is screwed in, the drug tube will be broken, the resin, curing agent and quartz particles will be mixed, and fill the gap between the anchor bolt and the hole wall. The anchor bolt can also be inserted into the wet hole, but the water must be drained out of the hole, and the gel will progress. And the waiting time for the hardening process must be doubled.
5. Gel process: keep the installation tool still, and the chemical reaction time see the parameters provided by the manufacturer.
6. Hardening process: Take off the installation tool and wait for the agent to harden. For the chemical reaction time, see the parameters provided by the manufacturer.
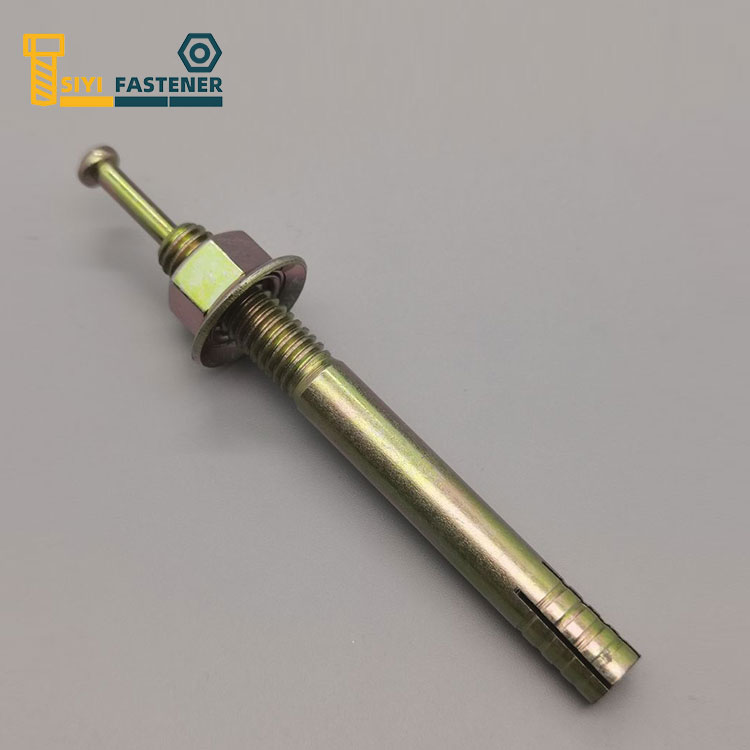
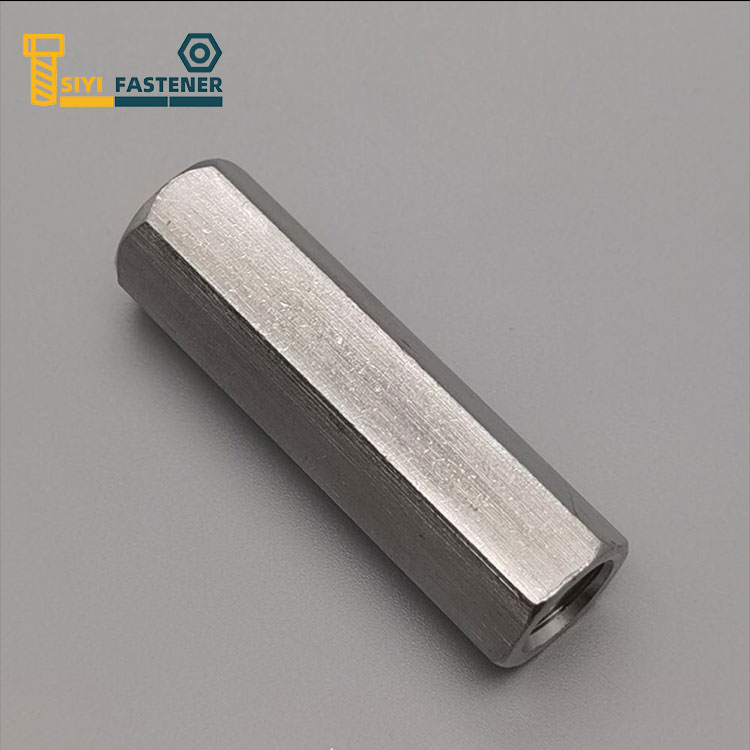
7. Fix the object: After the agent is completely hardened, add washer and hexagonal nut to fix the object.